LIVING STONE MASONRY
  • Home
  • Workshop
  • Gallery
    • Before/After
  • Blog
  • Contact
  • Videos
  • Mission
  • Testimonials
  • About Me
  • Instructional
    • Glossary
  • Links

Stone retaining walls in Boone NC

4/28/2011

1 Comment

 
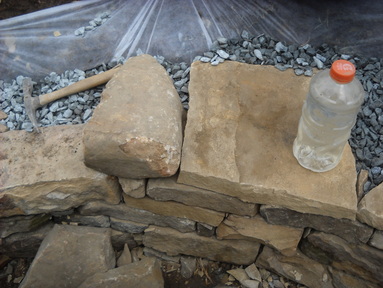
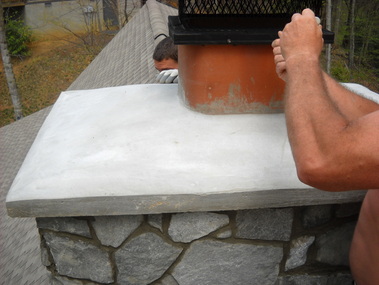
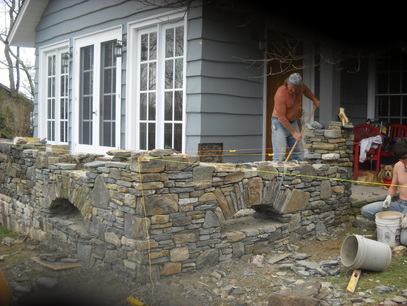
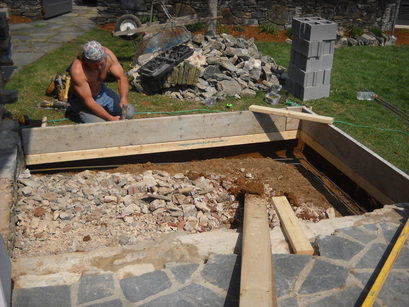
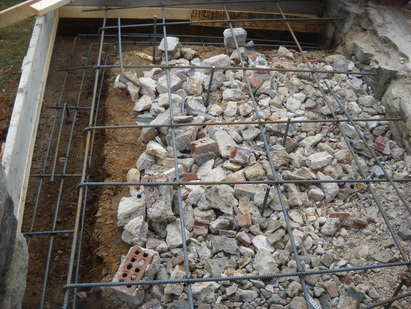
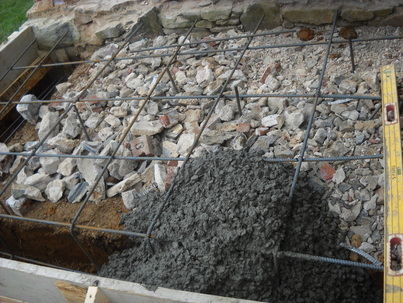
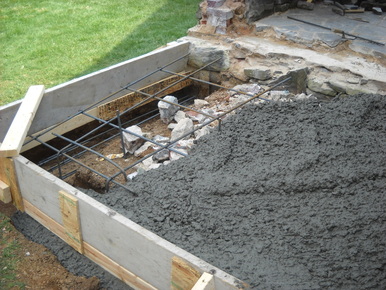
We had great weather today and were able to work on our tans, which is always a plus!  I made good progress in capping the wall, but we were slowed down by a feature of this project.  The owner requested part of the wall rise above grade so the stonework would be visible from the driveway.  The challenge here was to transition from a retaining wall to a 2-sided wall.
Picture
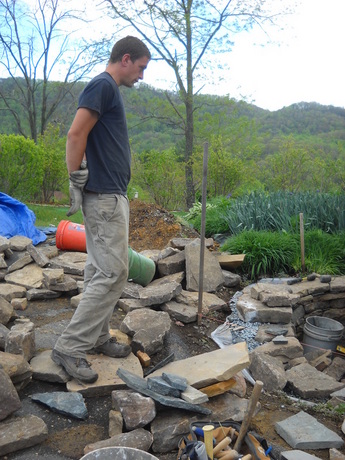
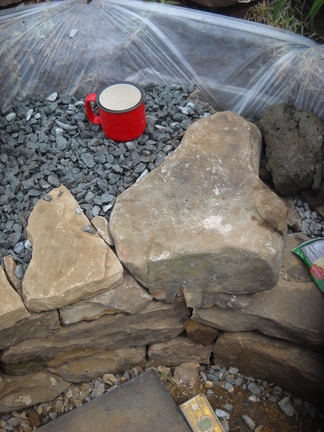
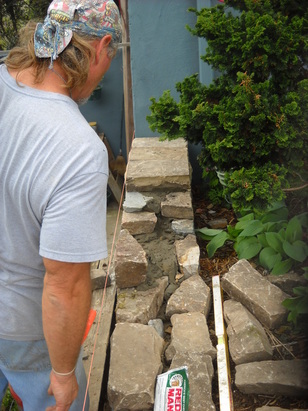
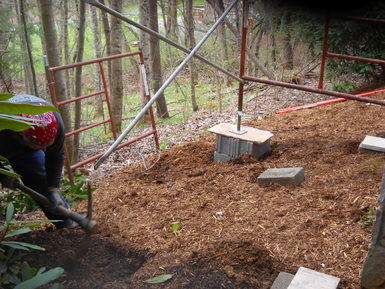
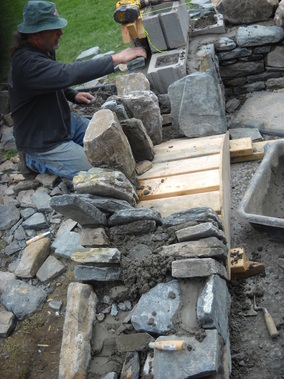
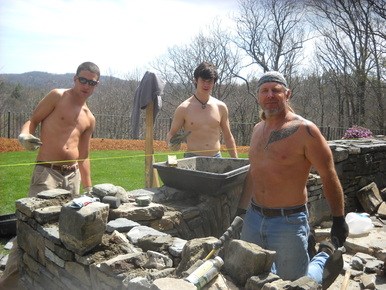
Josh searches for that special stone.
Picture
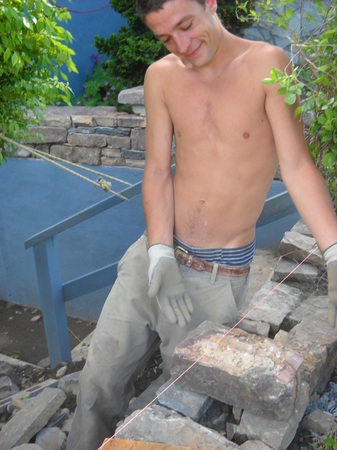
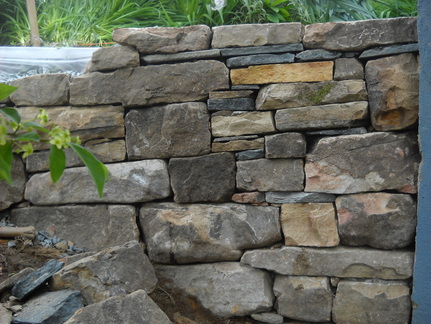
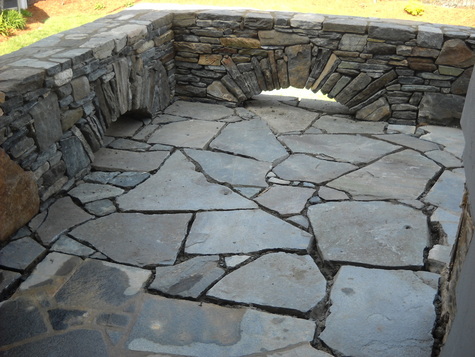
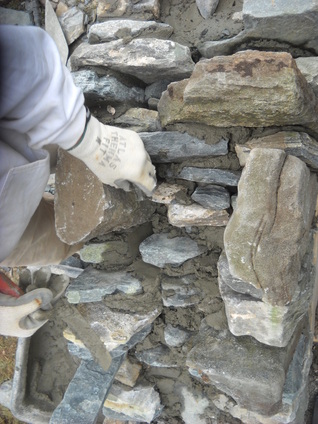
Here Josh demonstrates a "through stone", which is a stone that extends to both sides of a 2-sided wall. Through stones add strength to a wall and help them to last for many years.
Picture
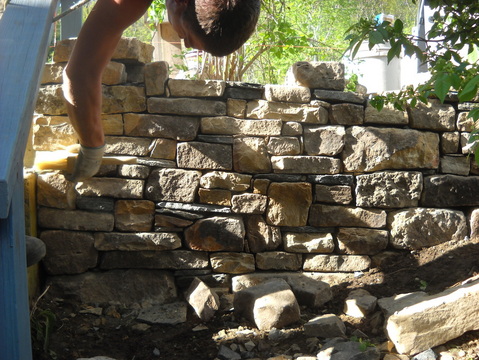
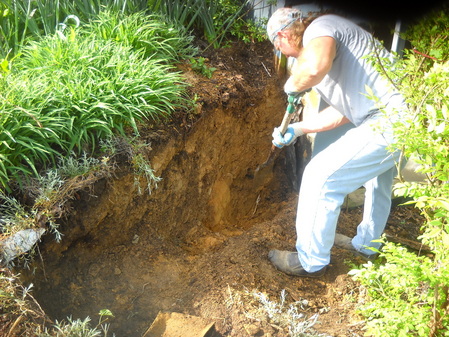
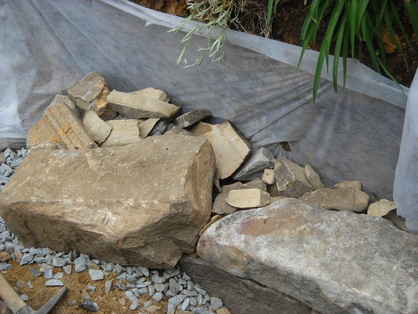
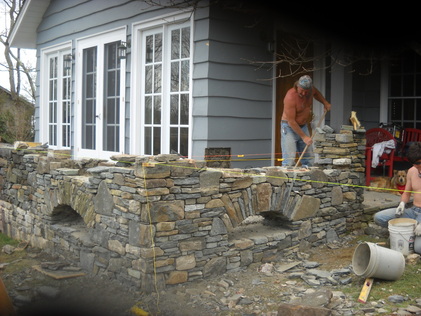
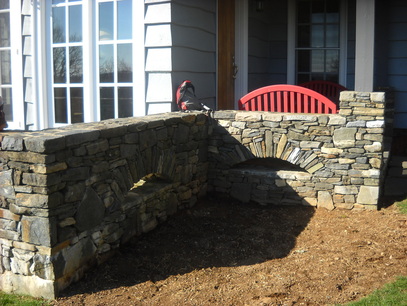
Section of wall completed by Josh. My only concern is that his work might look better than mine...
1 Comment

Building a drystone retaining wall.

4/27/2011

1 Comment

 
Today we worked on the drystone retaining wall in Daisy Ridge.  Walls like this are different, and much more labor and stone intensive, than a mortared or veneer stone wall.  The reason is that the wall has to be structural, as well as look good, so the stones have to tie back deeper into the backfill and be fitted much more carefully.
Picture
Notice how much more stone is extending back into the wall than what you see on the face of the wall. These are called "tie stones" and they are critical to building a strong drystone retaining wall.
Picture
Another "tie stone". Every third rock at least should be a tie stone. We use rubble, rock chips, and 3/4" washed gravel for the back fill, which allows water to pass freely through the structure. The white fabric prevents soil from infiltrating the gravel and inhibiting drainage.
Picture
1 Comment

Very tall chimney, cont; building a drystone retaining wall.

4/26/2011

17 Comments

 
Yesterday we finished the chimney for http://kingfishcabin.com and our next project is a stone retaining wall in the Daisy Ridge development of Valle Crucis.  The owner had a wall built from pressure treated 6X6 and it was rotten and starting to fail after 15 years.  Our job is to replace the wall and build a smaller wall to stop water from flowing down a set of steps during a flood.
Picture
This picture shows the finished chimney cap. I didn't have the camera when we poured it, so no photos from that.
Picture
Excavating the footing for the retaining wall. It is important to have a solid base for the wall and to dig far enough back to provide adequate depth in a wall like this.
Picture
Next I took a trip to the quarry to buy washed gravel for the footing and backfill. The loaders there are massive. I also got to see the "pit".
Picture
the "pit"
Picture
Tom builds the smaller wall. We use strings to help keep our work straight and level.
Picture
Establishing the footing course. We use the biggest, roughest rocks in the footing because they provide a solid base for the rest of the wall. The white fabric is a soil separator I use to keep dirt out of my gravel so water drains freely through the wall. Also we use the scrap stone from trimming as fill because it settles and moves less than gravel.
17 Comments

4 Aches cont. and a very tall chimney.

4/20/2011

1 Comment

 
We finished up the stonework for highcountryrenovators,com yesterday; the owners said it looked fabulous, and their designer was amazed at how well we matched the style of the original masons.  After capping off the wall the final challenge was to weave together the two different surfaces of the original patios and to slope the stones so that the water flows towards the arches.  Unfortunately, I neglected to get a picture of the grouted and cleaned patio.
Picture
Picture
Then today we started on a chimney repair in Seven Devils.  This chimney is over 30 feet tall, so one of the major challenges is to build a safe and secure scaffold and to get materials up and down.
Picture
When building a scaffold this tall, it is very important to have a solid foundation. We use cinder blocks dug into the hillside and leveled.
Picture
The orange arm at the top has a pulley with a rope so the ground man can haul materials up and down. Also, notice the scaffold is attached to the house and lashed to the chimney itself.
This chimney had major issues due to an almost nonexistent cap.  Water got behind the stones and froze, causing a large section to pull away and some stones to fall to the ground.  The owner was very concerned about safety and theliability, as this cabin is in a rental program.
Picture
Notice the patch at the top where the stones have fallen, and the area to the left has pulled away an inch or more.
My solution for this situation is remove all the loose stones and old cap.  Then I pour a new, steel reinforced 3" thick overhanging cap.  This ensures that no water can get behind the stones.  Then we reattach the stones using "Stonehold", and acrylic fortified type S mortar.
Picture
The only positive here was the ease of demolition. We just tapped the rocks and they fell away in big sections.
Coming soon:  we pour the cap and reattach the stones!
1 Comment

4 Arches

4/14/2011

0 Comments

 
After a rocky start to the week, we have made significant progress at our current job.  We expanded a patio and faced the challenge of matching some existing stonework, and part of the project was to build arches to allow water to flow away from the patio.  Two arches with two sides each and filled solid stone in the middle.  The crew has grown with the season and now we have myself, two other masons, Josh and Tom, and a helper, Tyler.
     One of our other challenges was to source the stone to match the existing.  The original masons used Rich Mountain stone, which was usually collected from fields near Howard's Knob or Rich Mtn.  With no source for that, I chose to use Black Regency from Blue Ridge Quarries in Marion.  The stone has been tumbled, which I think helps it look more weathered.   I would challenge anyone to find where the old work ends and the new begins.
Picture
We use a wooden form to support the arch until its complete and cured overnight.
Picture
It is important to fill solid in between the two arches so that the wall is supported.
Picture
Tomorrow we will cap off the wall and begin the flagstone part of the project.
Picture
0 Comments

Demolishing old stonework, pouring a concrete footing.

4/10/2011

2 Comments

 
Last week we started a project in Blowing Rock for High Country Renovators.  The owners of the house wanted to expand a patio by tearing down two walls and rebuilding them to provide access to the patio from the front of the house.
Picture
We began by removing the existing stonework one piece at a time, being careful to separate the stone from the rubble and save them for when we rebuild the walls.
Picture
Picture
One the demolition was complete, we excavated for footings and built a form for the new section of patio, ensuring we placed lots of steel to reinforce the concrete.
Picture
Picture
Picture
Then my concrete truck arrived, we poured the 2 1/2 yards, and now we're ready for stone!
Picture
Picture
Picture
2 Comments

Boone Outdoor Fireplace Installation.

4/3/2011

0 Comments

 
Finally got my truck back today, $1800 later.  Tomorrow we have an appointment to clean up at StoneGarden guesthouse because I finished there Thursday.
Picture
I have also been busy carving, and I am having way too much fun with that (I think Im obsessed).
Picture
Picture
Picture
Picture
My brother's wedding present (I hope he doesnt read this blog!)
0 Comments

    Author

    Franklin Smith, owner Living Stone Masonry and general stone enthusiast

    Archives

    June 2021
    October 2018
    April 2018
    June 2016
    March 2016
    October 2015
    September 2015
    May 2015
    January 2015
    December 2014
    October 2014
    July 2014
    February 2014
    February 2013
    January 2013
    November 2012
    September 2012
    August 2012
    July 2012
    June 2012
    May 2012
    April 2012
    March 2012
    February 2012
    December 2011
    November 2011
    October 2011
    September 2011
    August 2011
    June 2011
    May 2011
    April 2011
    March 2011
    February 2011
    January 2011

    Categories

    All

    RSS Feed

  • Home
  • Workshop
  • Gallery
    • Before/After
  • Blog
  • Contact
  • Videos
  • Mission
  • Testimonials
  • About Me
  • Instructional
    • Glossary
  • Links