Have you ever wanted a stone retaining wall to replace your ugly, rotting railroad tie or pressure treated wall? Nothing can compare to durability and beauty of natural stone, and when built correctly, stone walls will last a lifetime maintenance free. I will provide you with the underlying principles to build your own natural stone retaining wall.
This lesson is for informative purposes only. Please consult a professional before digging up your yard and ordering 100 tons of stone!
This lesson is for informative purposes only. Please consult a professional before digging up your yard and ordering 100 tons of stone!
STEP 1: EXCAVATION
The Excavation is the least fun, least glamorous part of building a stone wall, but it is crucial to build your wall on undisturbed soil, preferably below frost line. And that means digging.
If your site is accessible with equipment, you can rent an excavator to do the heavy lifting for you. This includes demolition of a failed wall, if necessary, and removing excess soil to create a flat workspace and digging a footing of the appropriate size.
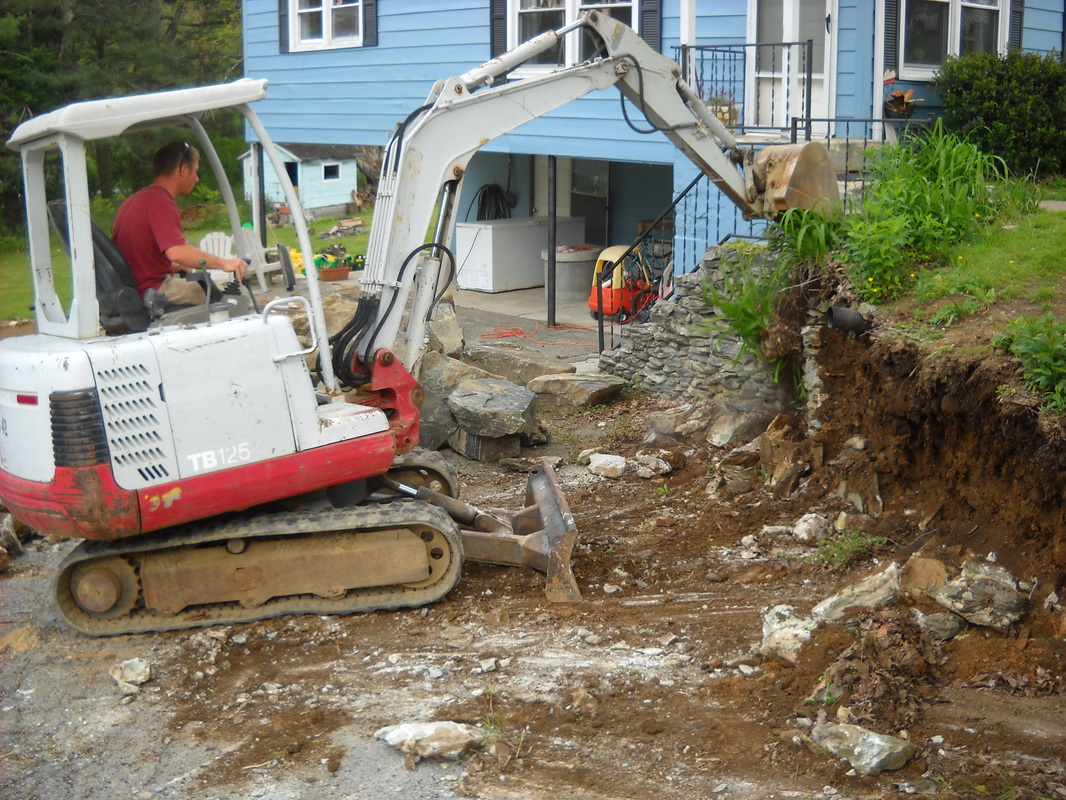
By using this excavator, I saved days of labor and my back.
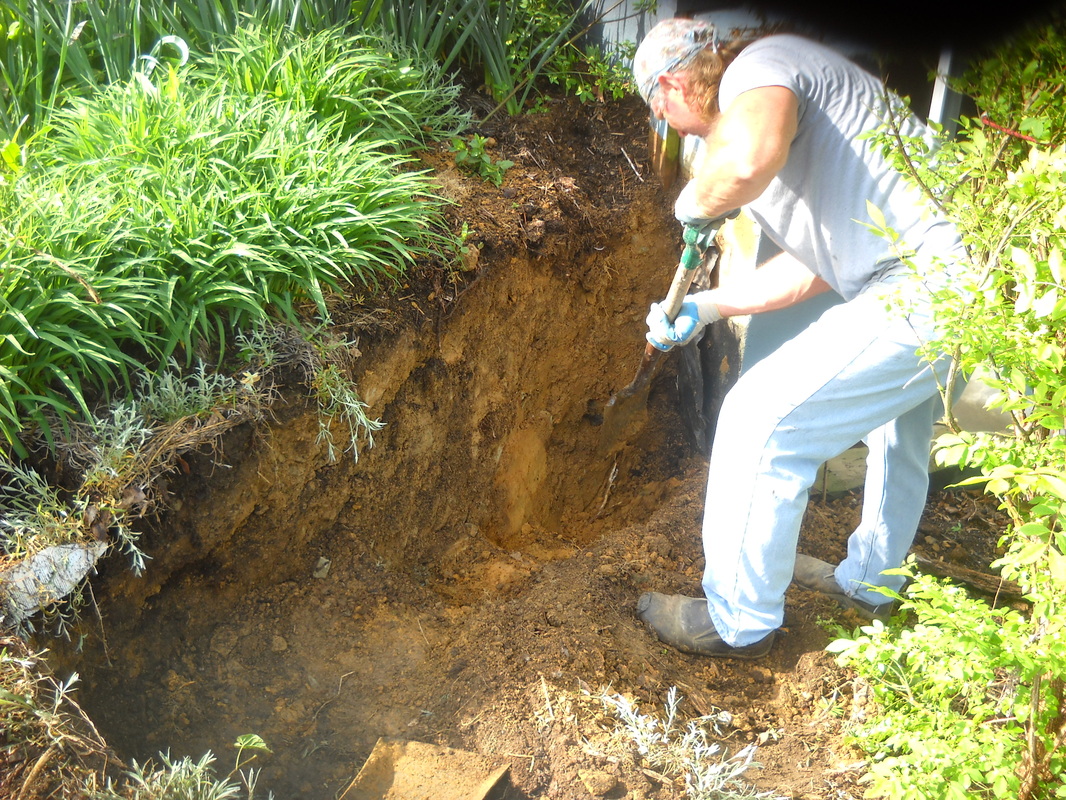
If you can't reach the site with an excavator or if excavation is too small, you will need to dig by hand. I prefer a flat spade to keep the sides of your excavation square.
The amount of dirt you will have to remove depends on how much flat area you are trying to create, how steep the hillside is, and the frost line in your particular area.
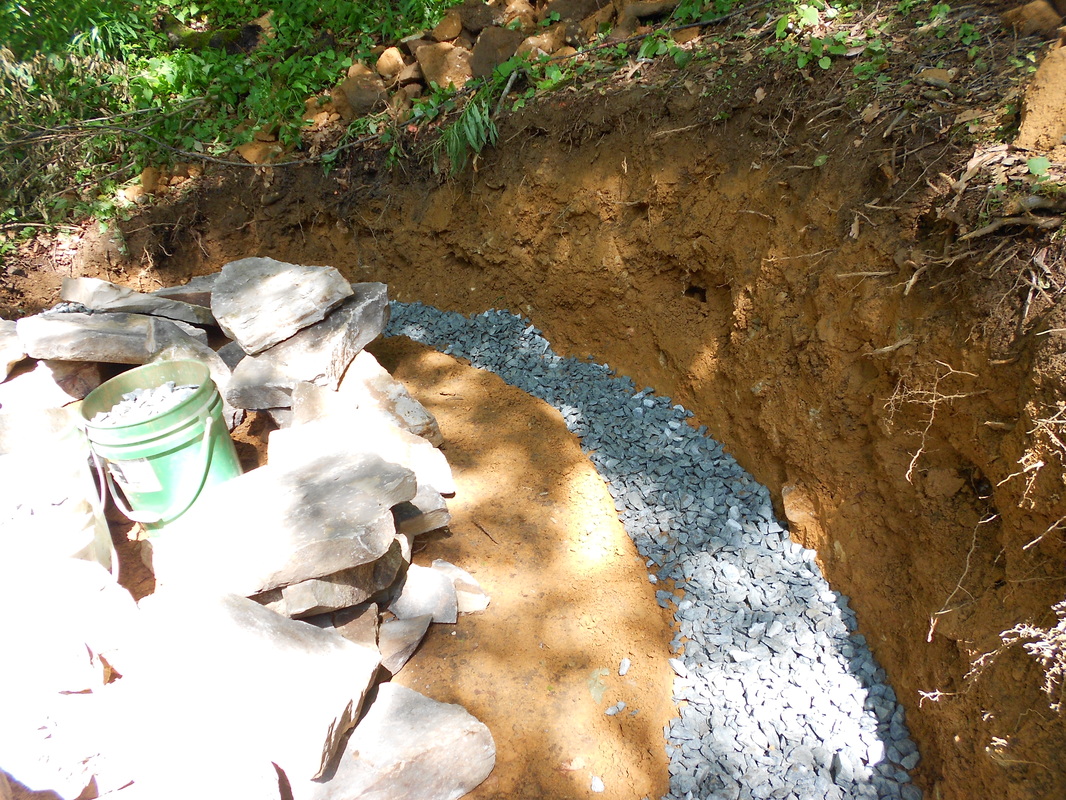
The above picture shows a properly prepared footing. In this instance, we were unable to use equipment, and the excavation took 3 men more than 2 full days to complete. Our footing is filled with 3/4" washed gravel and about 18" wide and 4" deep to accommodate a wall 3' tall. Taller walls will require exponentially wider bases, and walls built with larger stones will also require a wider base. For example, if your deepest stone is 3' deep, you would dig a 3' wide footing to be able to accommodate this stone and any stones up to that size.
STEP 2: FOOTING STONES
Once your footing is prepared, you will need to select appropriate footing stones. A good footing stone is first of all, large. You will want to use your largest stones on the bottom course for the stability they provide. In addition, this is a good opportunity to utilize stones that have irregularities on one side by placing those down in the gravel, which will shift around as you level the stones. It is important that you footing stones are as level as possible in both directions. Once you are satisfied with the placement of you footing stones, you can check them for stability by standing on them . There should be little to no movement.

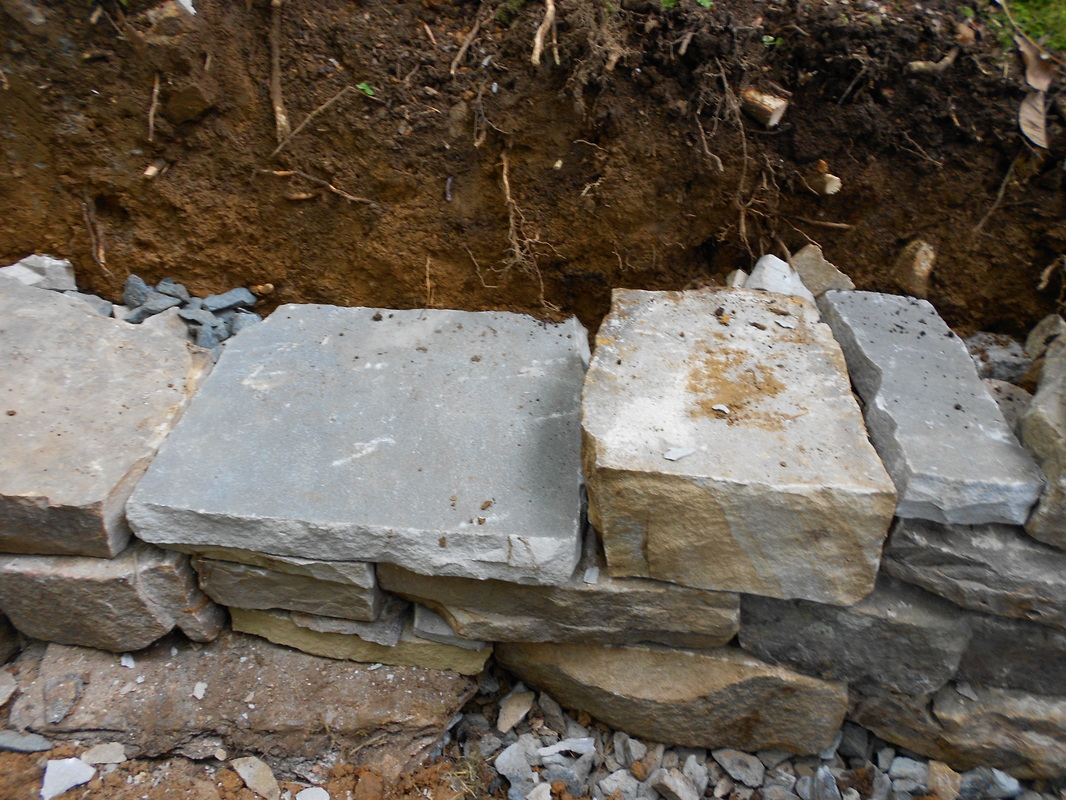
Now those are some big footing stones!

Your footing stones should tie back as much as possible.

DSWA master craftsman Sean Adcock tests the stability of footing stones during a workshop in Asheville, NC.
STEP 3: STONE PLACEMENT
There are 3 basic rules to stone placement in a drystone structure. If you can follow these principles, your wall won't fall down.
1.Length in.
This sounds simple enough right? Use the stone with the longest side going into the wall. However, there is a great temptation with novices to "trace" stones (to use the longest side facing out), but this creates areas of instability and is to be avoided whenever possible.
When stones are placed length in, the side you see is the smallest side.
2. 1 stone over 2, 2 stones over 1.
Again this is a simple concept, but the rule is often ignored by both beginning and experienced masons. Another way of putting it is to always cover the seam between two stones with another stone. This helps to distribute weight and force evenly throughout the wall.
Again this is a simple concept, but the rule is often ignored by both beginning and experienced masons. Another way of putting it is to always cover the seam between two stones with another stone. This helps to distribute weight and force evenly throughout the wall.
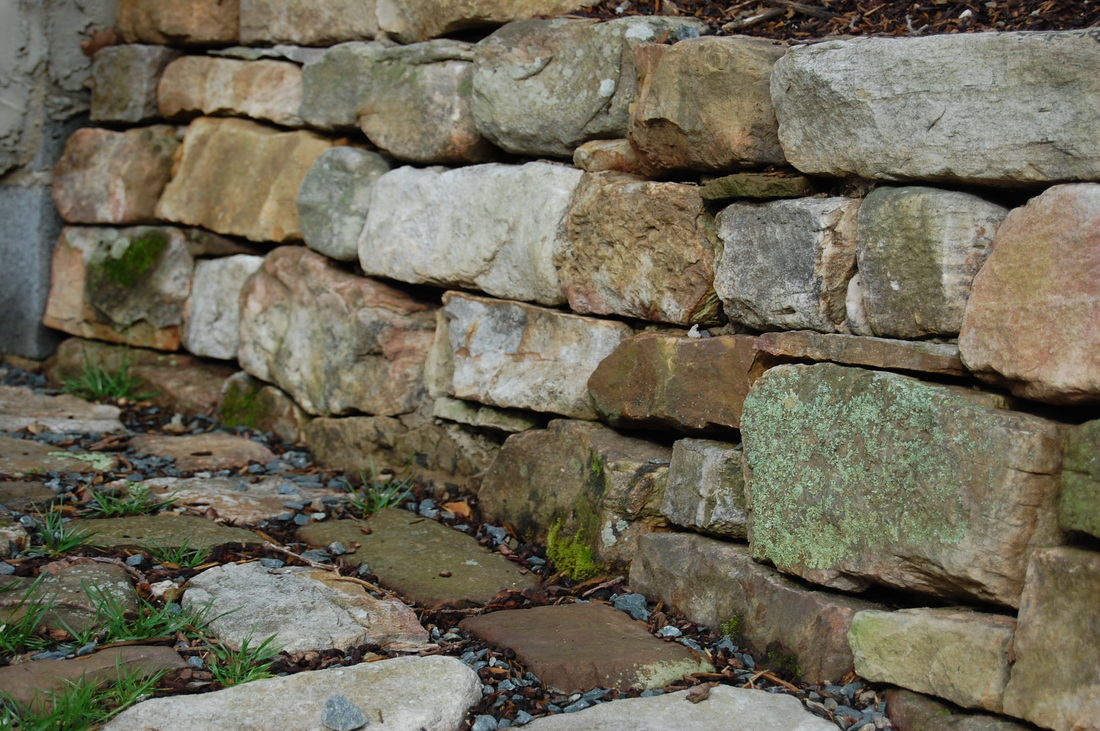
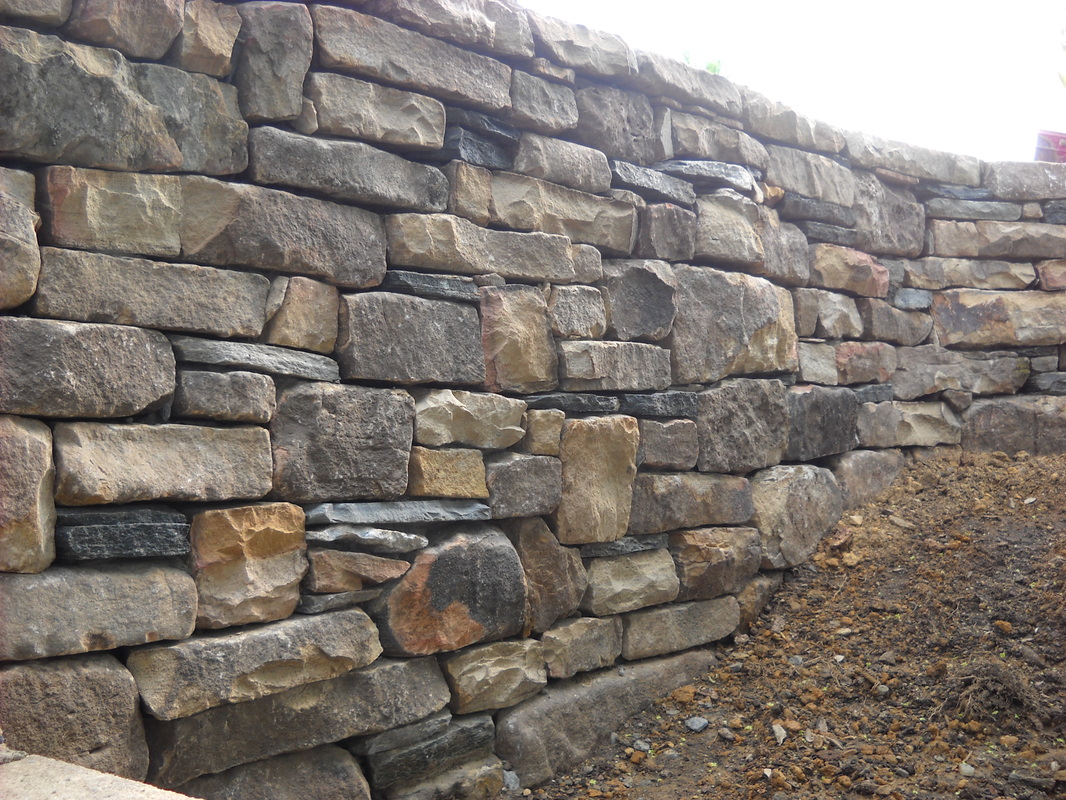
You can see how I covered the joints in this simple drystone retaining wall.
3. Level.
This rule might be the most difficult one because because no matter how they might appear, stones are never perfect. A small lump here and a little bump there can cause your drystone wall to be crooked and unstable. The challenge is to use the stones in a way that the irregularities will complement each other instead of compounding to form a problem spot. You should try to keep the stones as close to level in both directions as possible.
This rule might be the most difficult one because because no matter how they might appear, stones are never perfect. A small lump here and a little bump there can cause your drystone wall to be crooked and unstable. The challenge is to use the stones in a way that the irregularities will complement each other instead of compounding to form a problem spot. You should try to keep the stones as close to level in both directions as possible.
STEP 4: BACKFILLING/HEARTING
This is one of the most neglected techniques in wall building because of the the simple fact that it is not visible once the wall is completed. After you place each stone or course of stones, you should fill the spaces between, behind, and below the stones with "hearting" (chips of stone or gravel). The pieces should be as large as you can fit in the space, and if it fits in your mouth, it is too small. The problem with using small (1/4-3/4") gravel behind the wall is that it will migrate to the face of the wall, spill out, and make your wall look bad. It could also compromise the structure of the wall by creating voids.
This is one of the most neglected techniques in wall building because of the the simple fact that it is not visible once the wall is completed. After you place each stone or course of stones, you should fill the spaces between, behind, and below the stones with "hearting" (chips of stone or gravel). The pieces should be as large as you can fit in the space, and if it fits in your mouth, it is too small. The problem with using small (1/4-3/4") gravel behind the wall is that it will migrate to the face of the wall, spill out, and make your wall look bad. It could also compromise the structure of the wall by creating voids.
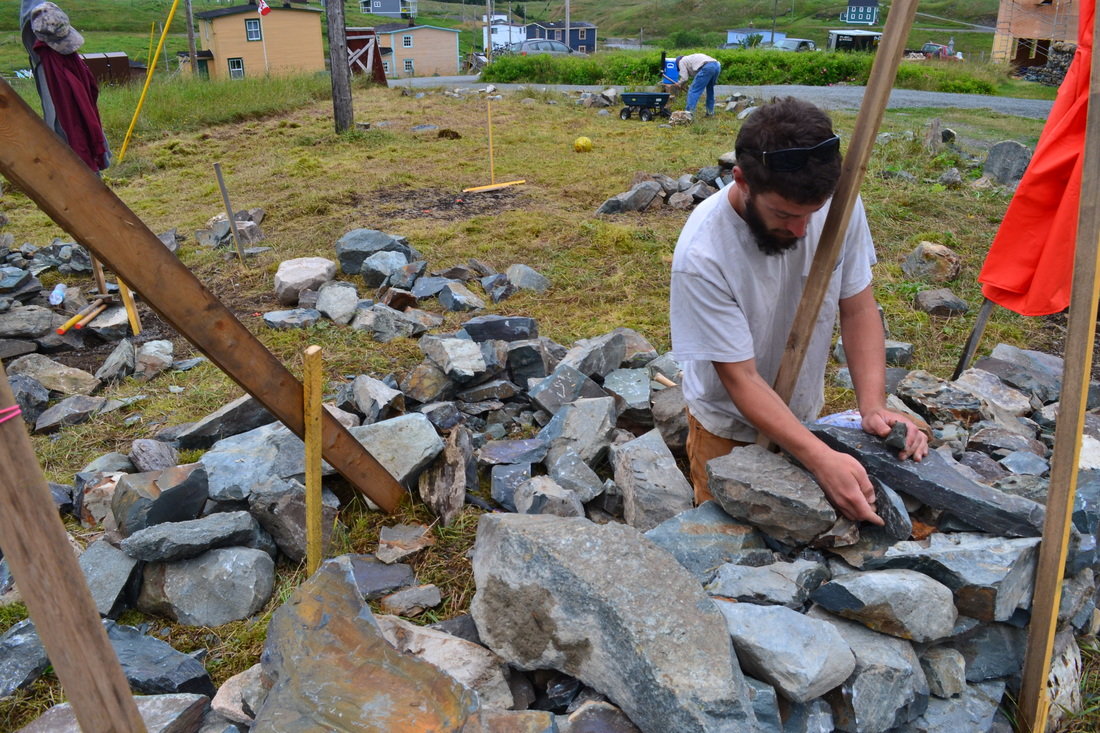
Josh hearting a wall at a workshop with Dan Snow in Newfoundland.
STEP 5: CAPPING/COPING
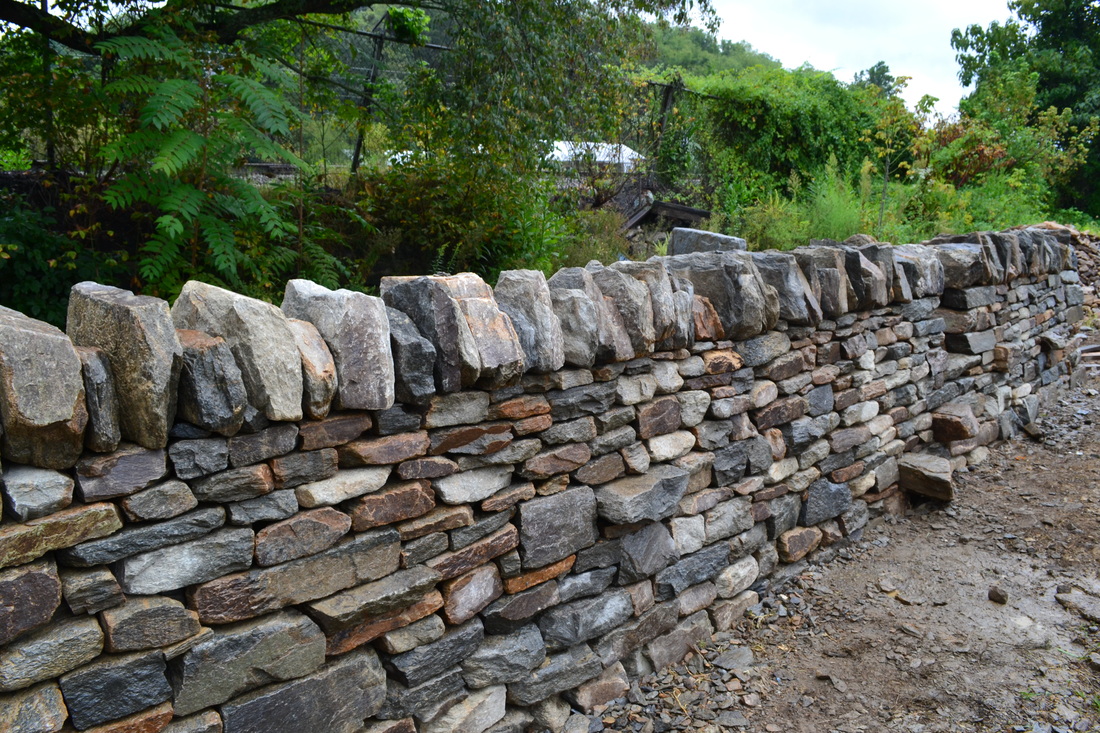
This is the most important step, visually speaking, because the top of the wall is the only part of the wall where you see the whole length of the stone. Stone selection and fitting is paramount. I suggest you set aside potential capstones throughout the project to make capping easy and fun. A common mistake is to use all the best stones first, so that when it comes time to cap all thats left is the stones nobody wanted to use. In my part of America flat capstones are standard, but in the UK vertical coping is the norm. Either style is fine, just choose which works for you aesthetically.
This is the most important step, visually speaking, because the top of the wall is the only part of the wall where you see the whole length of the stone. Stone selection and fitting is paramount. I suggest you set aside potential capstones throughout the project to make capping easy and fun. A common mistake is to use all the best stones first, so that when it comes time to cap all thats left is the stones nobody wanted to use. In my part of America flat capstones are standard, but in the UK vertical coping is the norm. Either style is fine, just choose which works for you aesthetically.

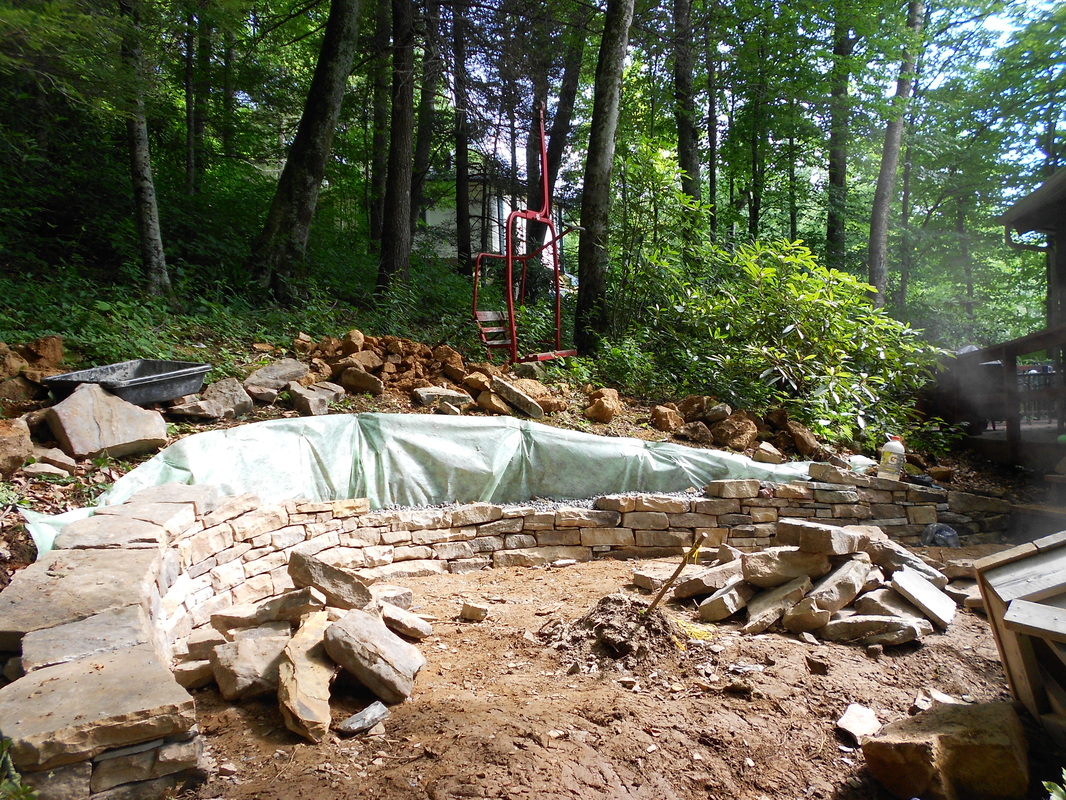
By selecting the perfect stones out of a large pile, I was able to use these solid, two sided caps to finish this retaining wall.
Vertical coping is often used in freestanding walls like this workshop project in Asheville NC.
Besides having the proper stone selection, there are two things that will make capping fun and easy. The first is to set up your final course of the wall to accept capstones of the size you have on hand. This sounds easy, but it takes some planning to achieve.
The second is ALWAYS USE A STRING! No matter how many walls I build, my eye is never as accurate as a simple string line.
The second is ALWAYS USE A STRING! No matter how many walls I build, my eye is never as accurate as a simple string line.
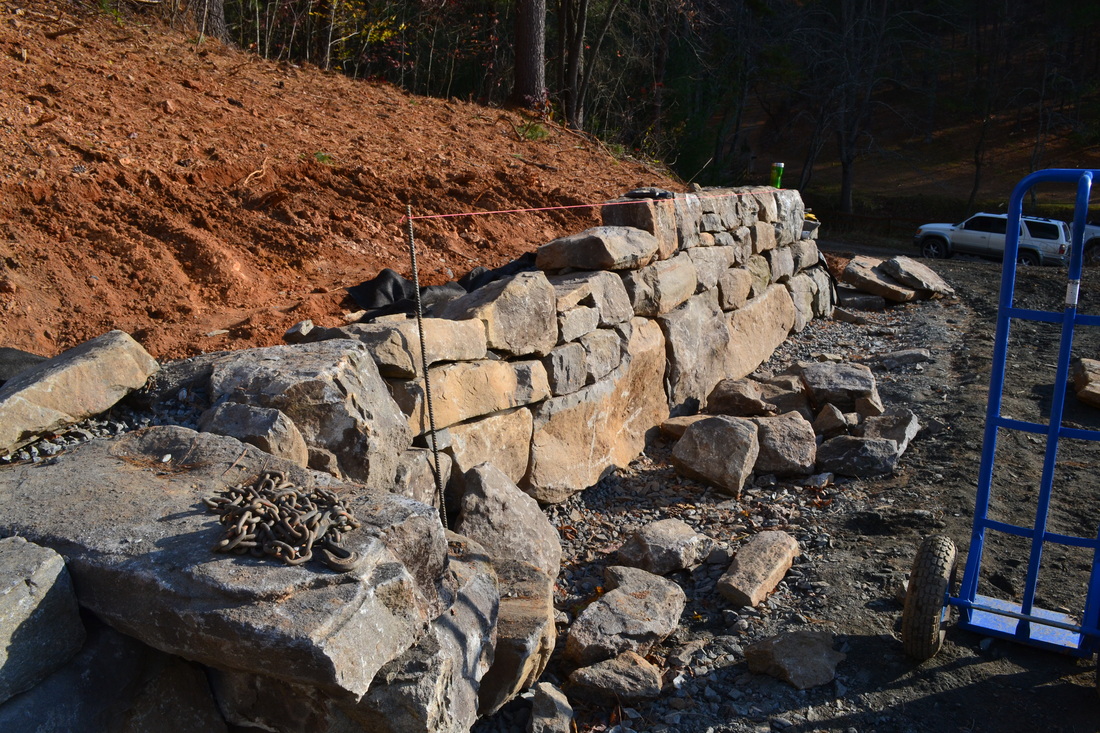
It is helpful to use a stake when working a long section of wall.
I hope you have enjoyed this lesson, and if you have any questions about wall building, feel free to contact me, or to find a stonemason in your area, please consult the Stone Foundation's online directory: http://stonefoundation.org/membersusa.html
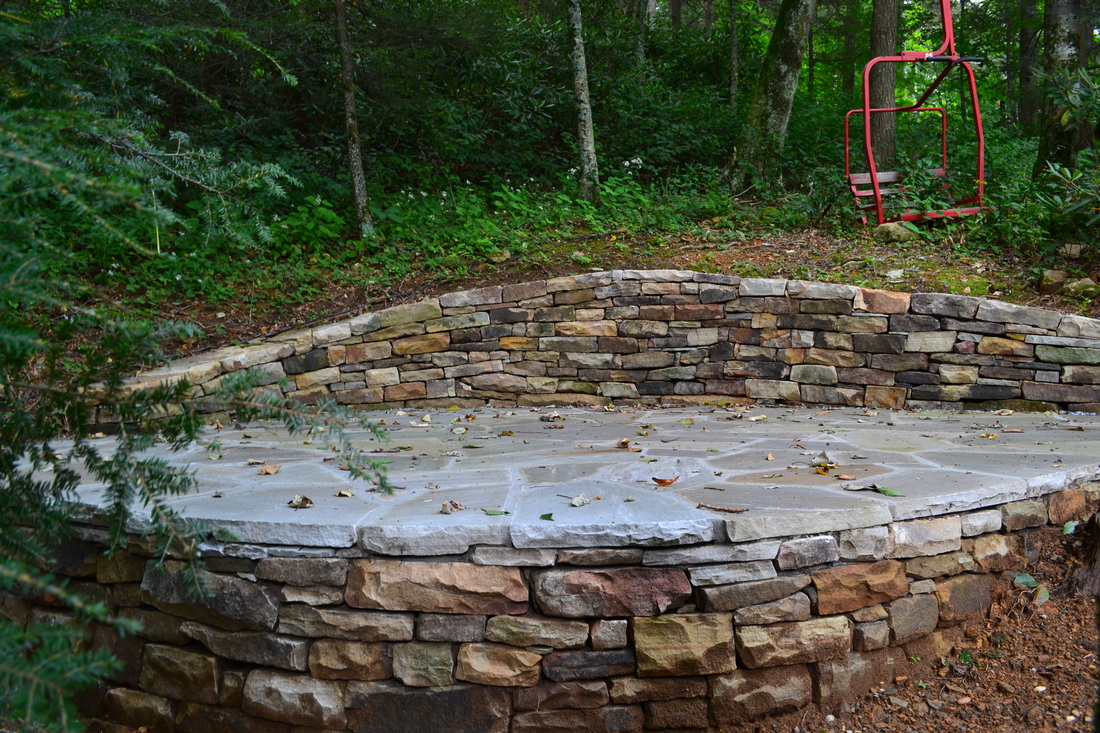
This beautiful seating area on Sugar Mtn. required the construction of two drystone walls.
 RSS Feed